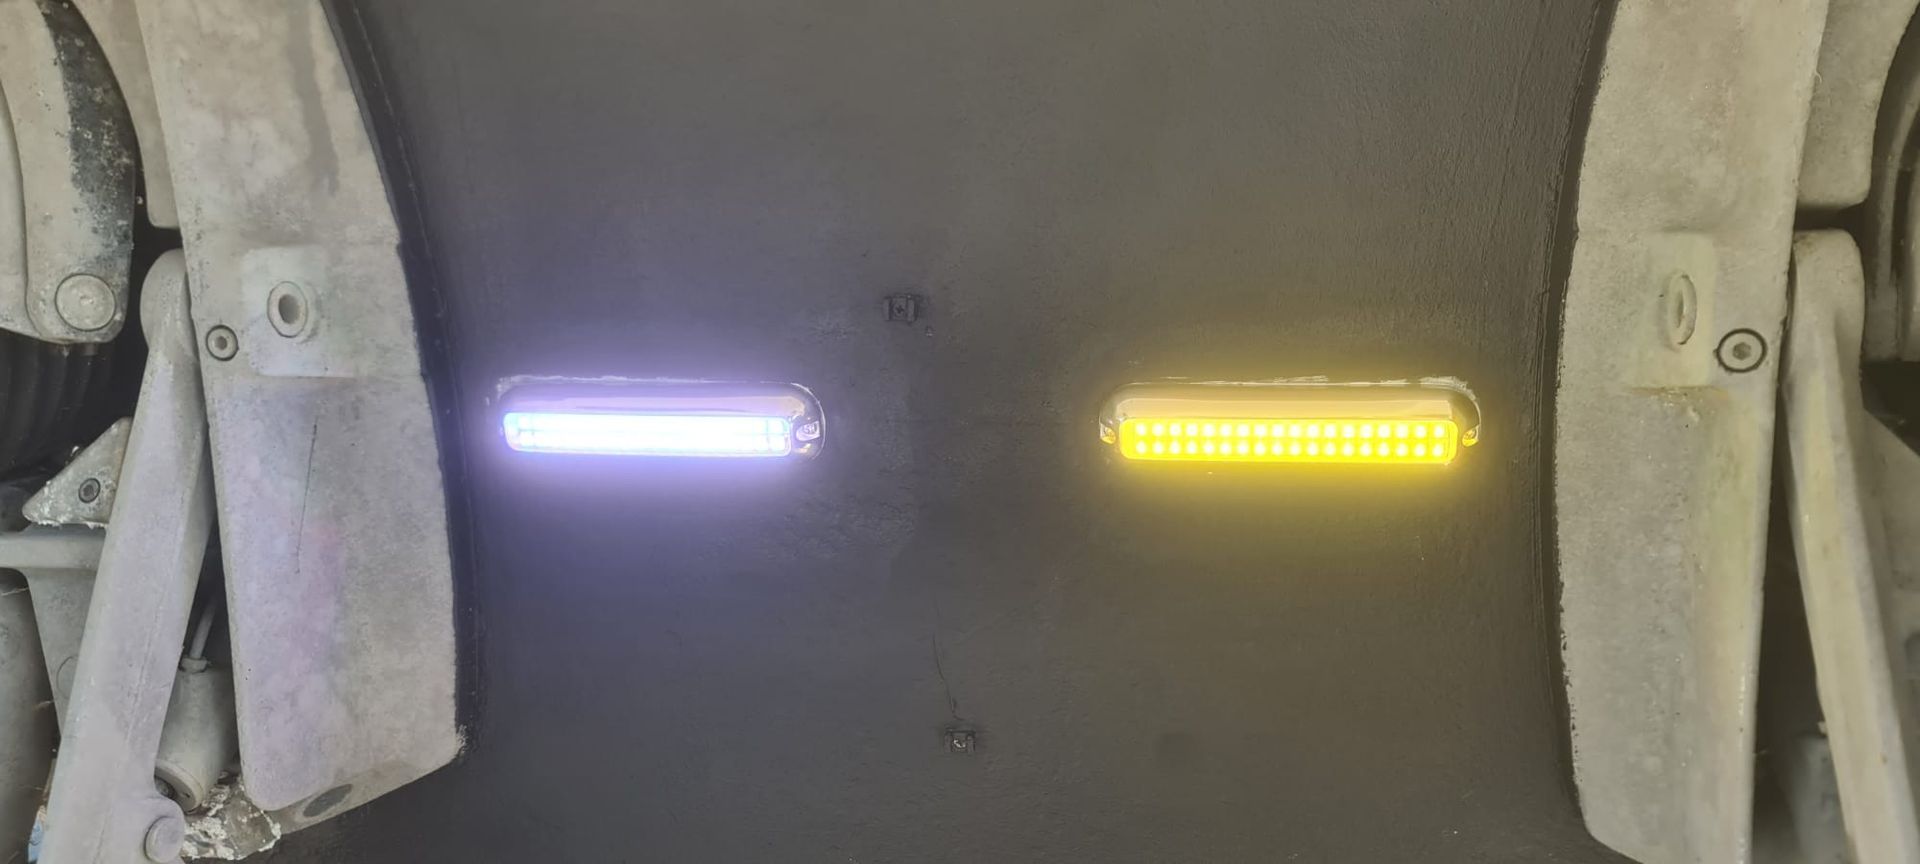
LED underwater light installation on a Sunseeker Hawk 34
Sunseeker hawk 34
LED underwater light install, Sunseeker hawk 34.
Completed in 5 hours, onsite installation in Christchurch, Hampshire, UK.
We measured and marked out the location of the lights to be fitted, drilled the holes through the transom for the cables to run inside.
Next, we marked out the area these were mounting on, scraped back the antifoul to bare gelcoat, we then cleaned and prepped the surface. We then applied Sikaflex 291 to seal the lights securely underwater.
Once sealed and mounted correctly, we ran 2 core cable from the rear of the engines along the conduits fitted in the boat, to the helm position. We tee'd a meter of extra cable onto the joint for the underwater lights, to add small lights into the air intakes for the engine bay & rear steps for more exterior comfort lights at night.
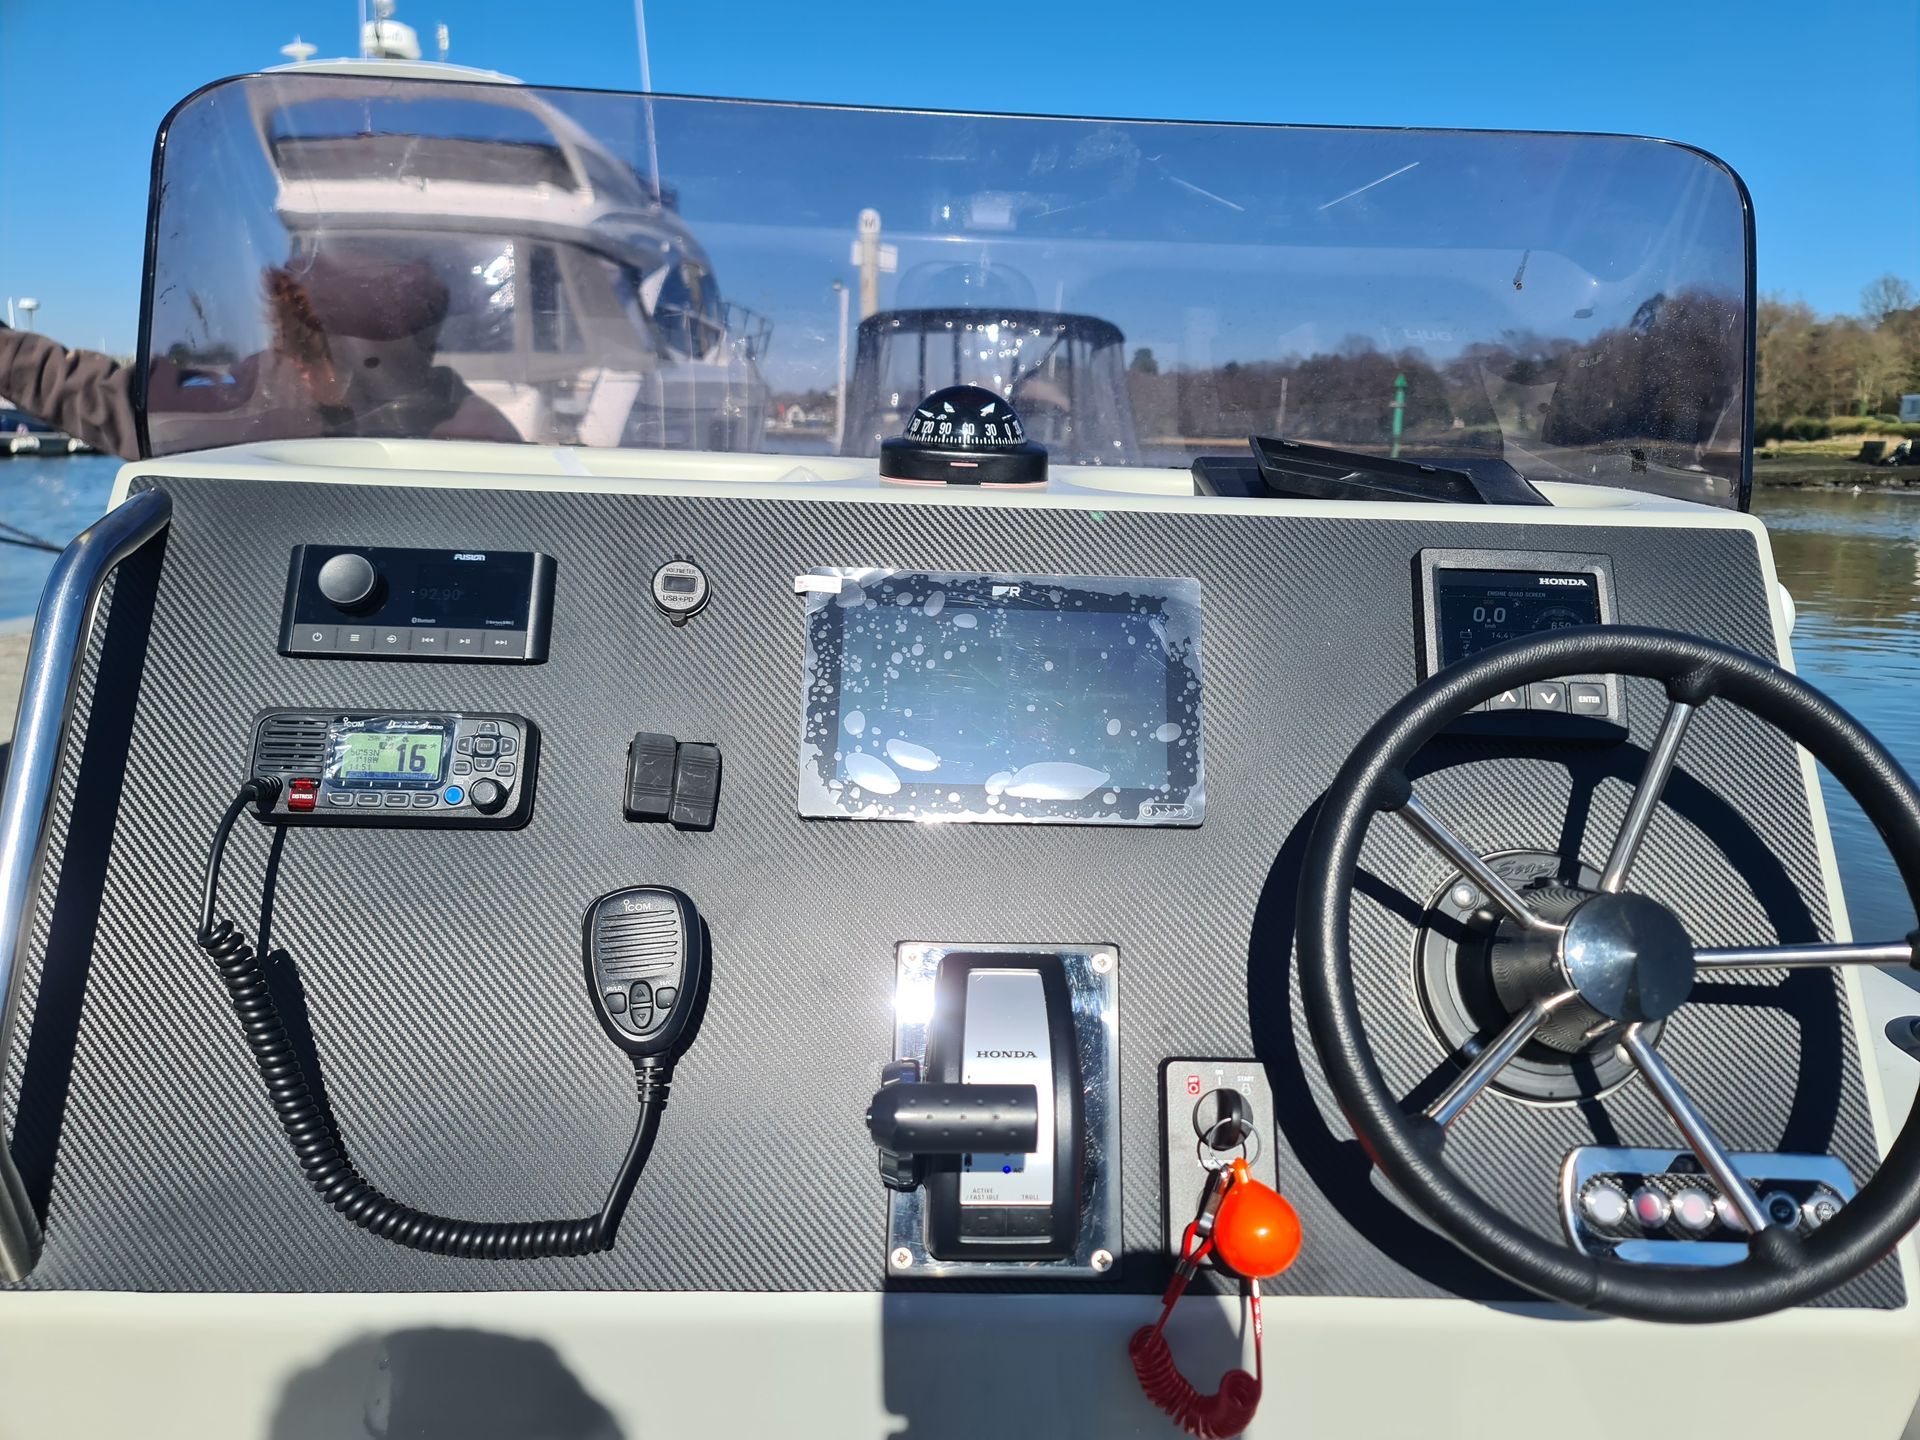
At the helm position, the boat already had a couple of spare carling switches which were unused, which we connected to the cockpit light circuit from the main breaker board and added a separate 7.5A fuse for the underwater lighting on its own.
The lights are different colours as we tested each one individually before installing, to make sure they are fully functioning and we left them on different colours before leaving.
The lights both operate from 1 remote control that allows a full range of colours at night.
Summary
On these particular Sunseekers, the access in the engine bay is quite easy, lights can be difficult to install above the trim tabs as the access is restricted with pumps and cabling.
On the starboard side there are 2 conduits running forward from the engine room, one directly to the switch panel in the main saloon the other stops in the underfloor cupboard by the helm position. It's small in there but you will find the end of the conduit and you can run the cables over into the rear of the dashboard by dropping a rod through from behind the dashboard
